While hand-calligraphed and letterpress wedding invitations have undeniable charm, they come with a hefty price tag. Crafting your own wedding invitations can be an elegant and cost-effective alternative to pricier professionally-made ones. Here are tips and tricks to ensure your DIY invites look flawless.
Budgeting Your DIY Invitations
Even with at-home printing, expenses for ink and paper can add up, especially with premium paper or rich inks. Consider factors like invitation size, paper quality, whether they’re flat or folded, and any extras like belly bands.
Additionally, factor in costs for postage and envelopes. Weigh these elements carefully to ascertain if the savings from DIY offset the advantages of professional services.
Discover Your Aesthetic
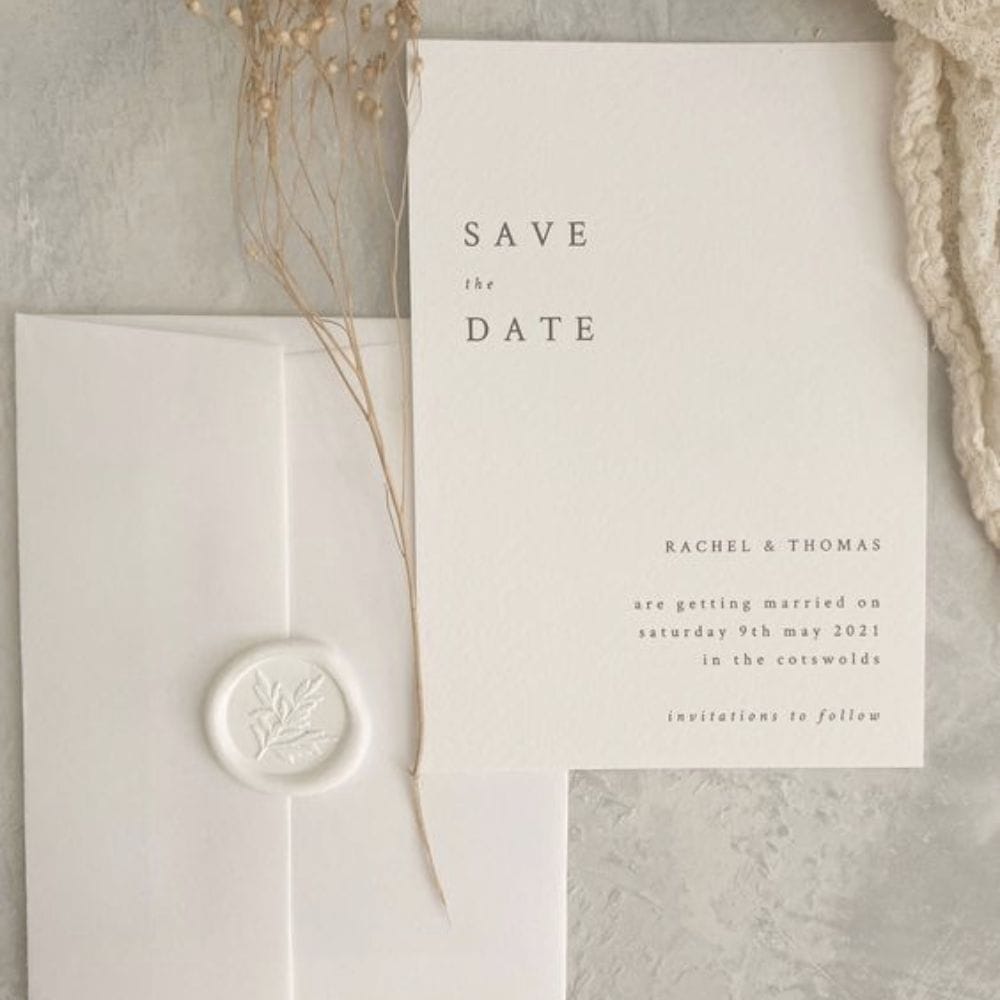
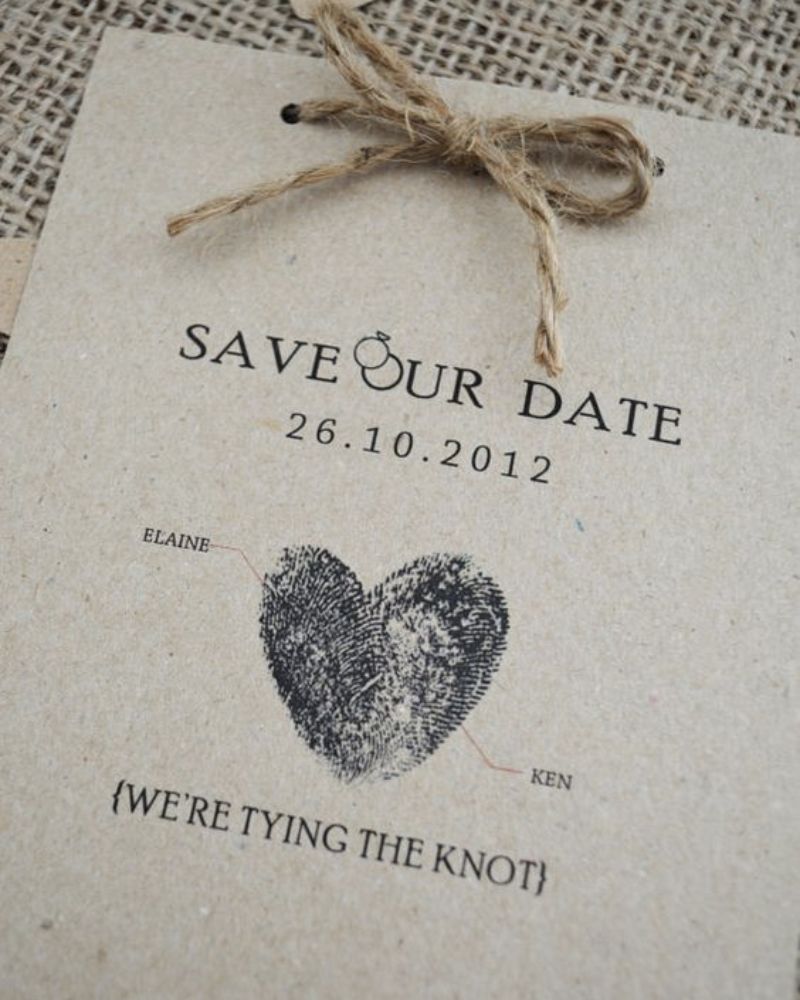
Before diving into a search, reflect on the style you envision for your invitation. Do you prefer simplicity and elegance, bold and vibrant, or a dreamy watercolor theme? Take time to explore various options before browsing designers’ portfolios.
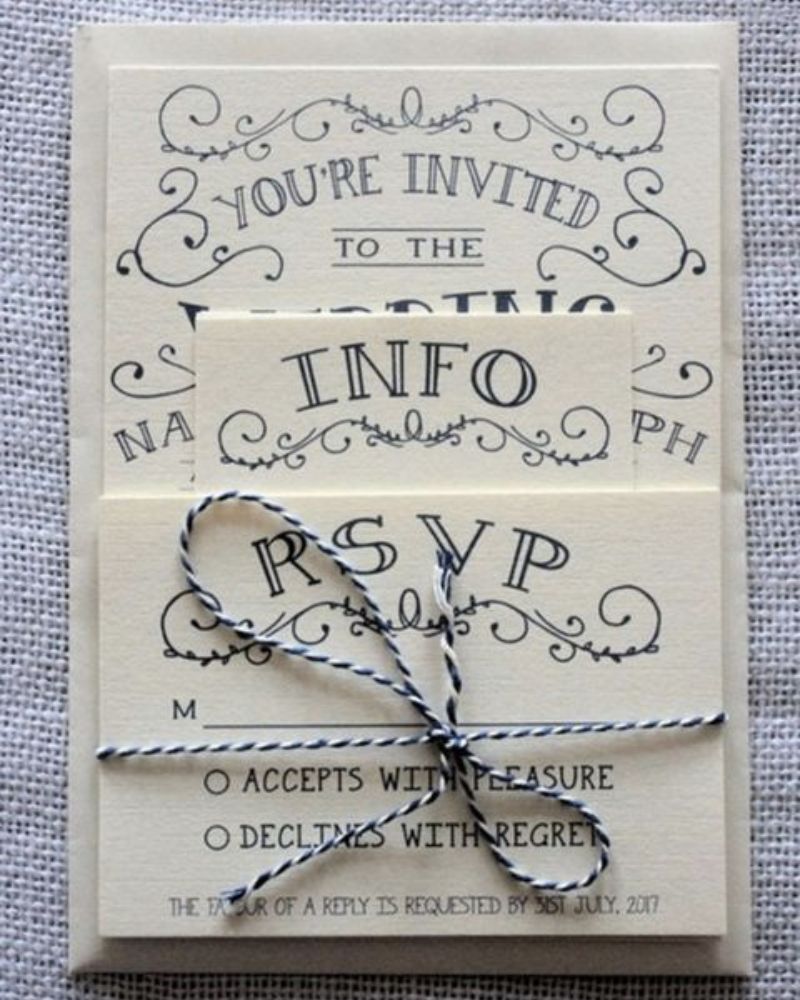
Creating a Pinterest board as a mood board can help define your style. Pin your favorites and notice recurring elements. Opt for designs with ample white space and lighter backgrounds—they’ll enhance home printing and cut down on ink usage.
Planning and Executing
Creating your own wedding invitations might save money, but it demands time and patience. Aim to mail them at least eight weeks before your wedding, and plan for extra supplies—around 10 percent—to cover potential mistakes or reprints.
For options, explore online platforms like Minted, Shutterfly, Zazzle, and Etsy for customizable templates. Printing can be done at home or through larger printers like Costco or local print shops, offering professional touches and paper selection. Prioritize multiple proofreads for errors and have a third party review them for grammar and spelling.
Making the Choices
Selecting the right paper is crucial. Take samples home to test on your printer before committing. Ensure your template resolution is at least 300 DPI for a crisp outcome when saving the file.
When selecting envelopes for your invitations, it’s crucial to find ones that complement both the size and style of your invitation. Allow some space—envelopes slightly larger than the invitation provide a snug fit without creasing or damaging the content.
Assembly and Dispatch
To achieve neat cuts for your invitations at home, a paper cutter with a sharp blade is a lifesaver. When it comes to assembling layers or adding envelope liners, opting for glue dots or double-stick tape instead of regular glue can make the process smoother and less messy. The envelope’s shape and size will affect the postage cost, so it’s essential to consider these factors.
With a bit of research and commitment to the process, doing your own wedding invitations doesn’t have to be a daunting task. With these tips, you’ll save both a lot of time and money.